Doing
The questions I face most in about my stencil work are based on technical matters; some variation on “how did you do this?!” I find that people are generally familiar with stencils as a concept, but not how I'm going about executing them. I think this is an important question, because understanding the process is tightly bound with how one experiences the final work.
The concept is simple: paint passes through or around a cut pattern, filling in the negative image beneath, and forming an inverse image. It's one of the oldest practices of art known to humankind; cave painters in Neolithic Europe blew pigment around their hands against stone walls. We should not try to mystify it now, or be coy about how we do it, but some practitioners certainly try. While I use the stencil in multiple ways, I'm going to share one of my tried-and-true methods.

Step one: Experience
The essential starting point for my work is a fleeting moment of beauty, truth or clarity. The sublime, or the illuminating.
For this example, a rappelling trip into a crevasse in Utah forced me to face some deep fears and push the extent of my limits. After fighting back the dread and panic, as well as the physical challenge of descending icy waterfalls to the bottom, I was rewarded by a glimpse of the sublime. I had to try and capture this on canvas, expressing that feeling bound with place. As long as I have photography reference to build from, tied with that strong emotional anchor, I have what I need.
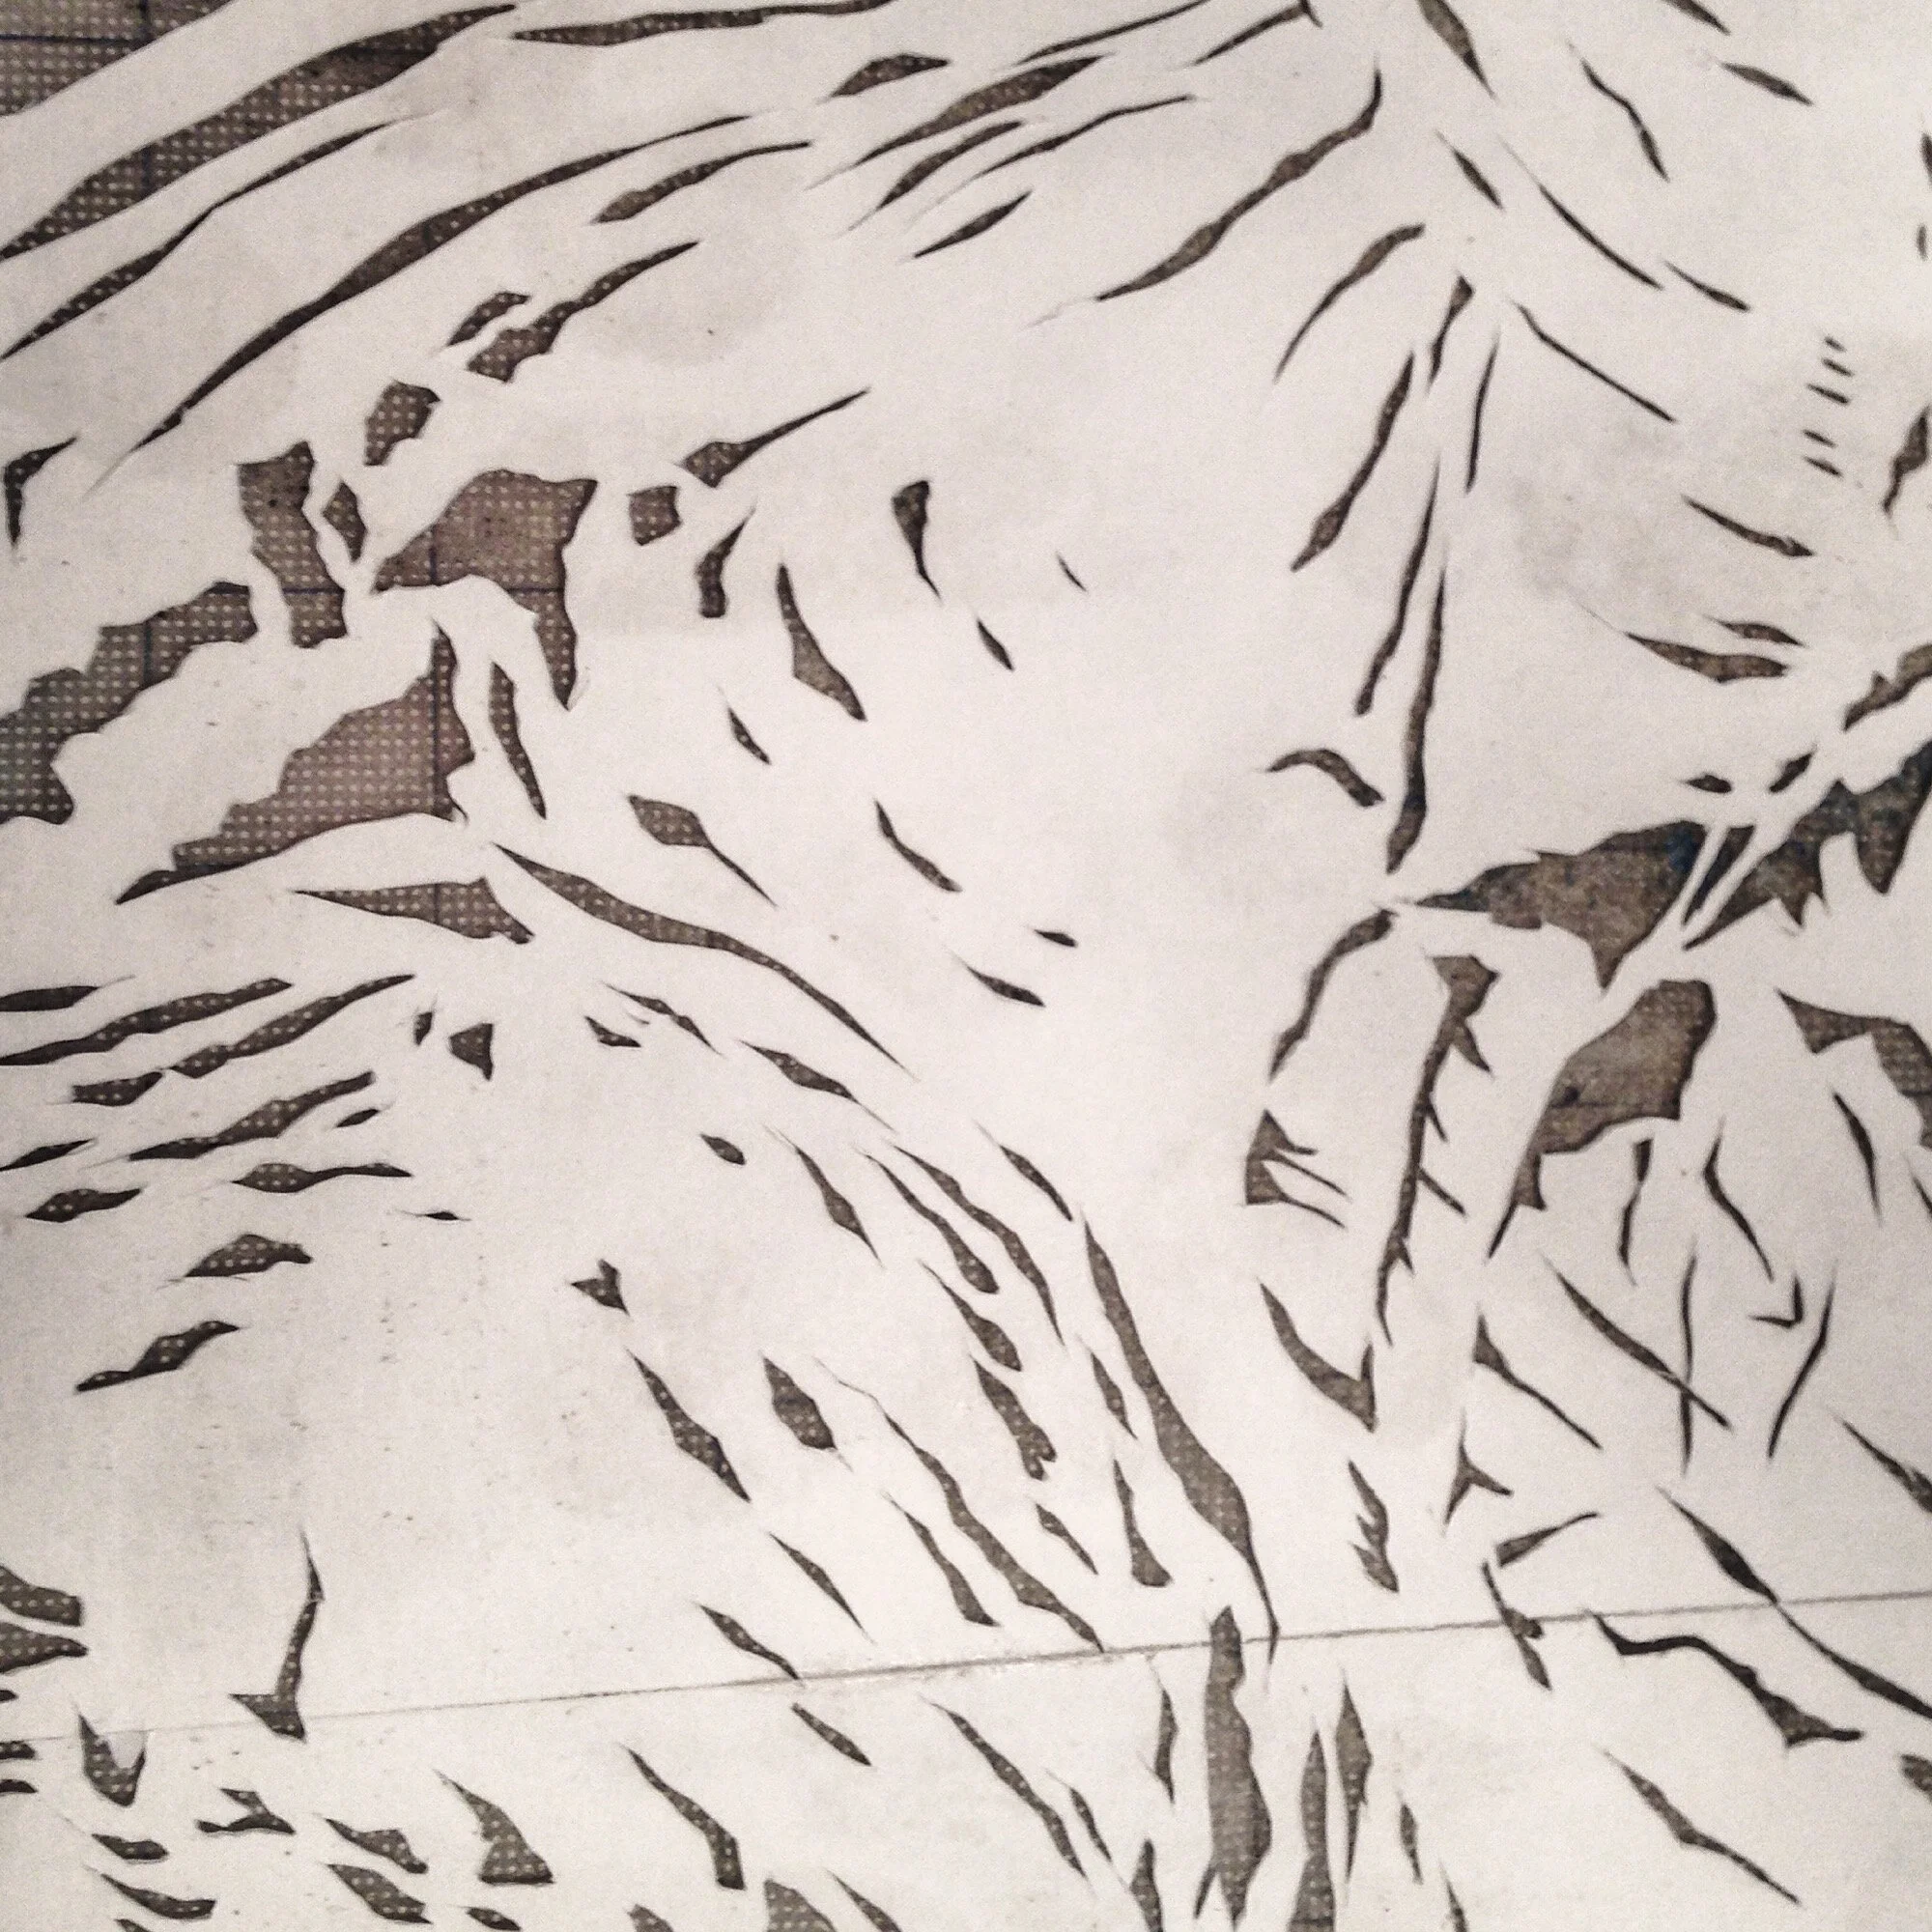
Step Two: Build a Stencil
There are many ways to construct a stencil. For this work, I printed the image on a large-scale plotter and glued it to poster board. Depending on the scale and intent of the project, I have a choice of stencil material. For stencils that I want to use under rigorous conditions or on a repetitive basis, I use chipboard, plastic quilting template, oil board, or found materials such as corrugated plastic. For something more temporary or detailed, something thin and flexible like poster board or Bristol is best. Depending on the material, the knife work and blade are implications I must consider.
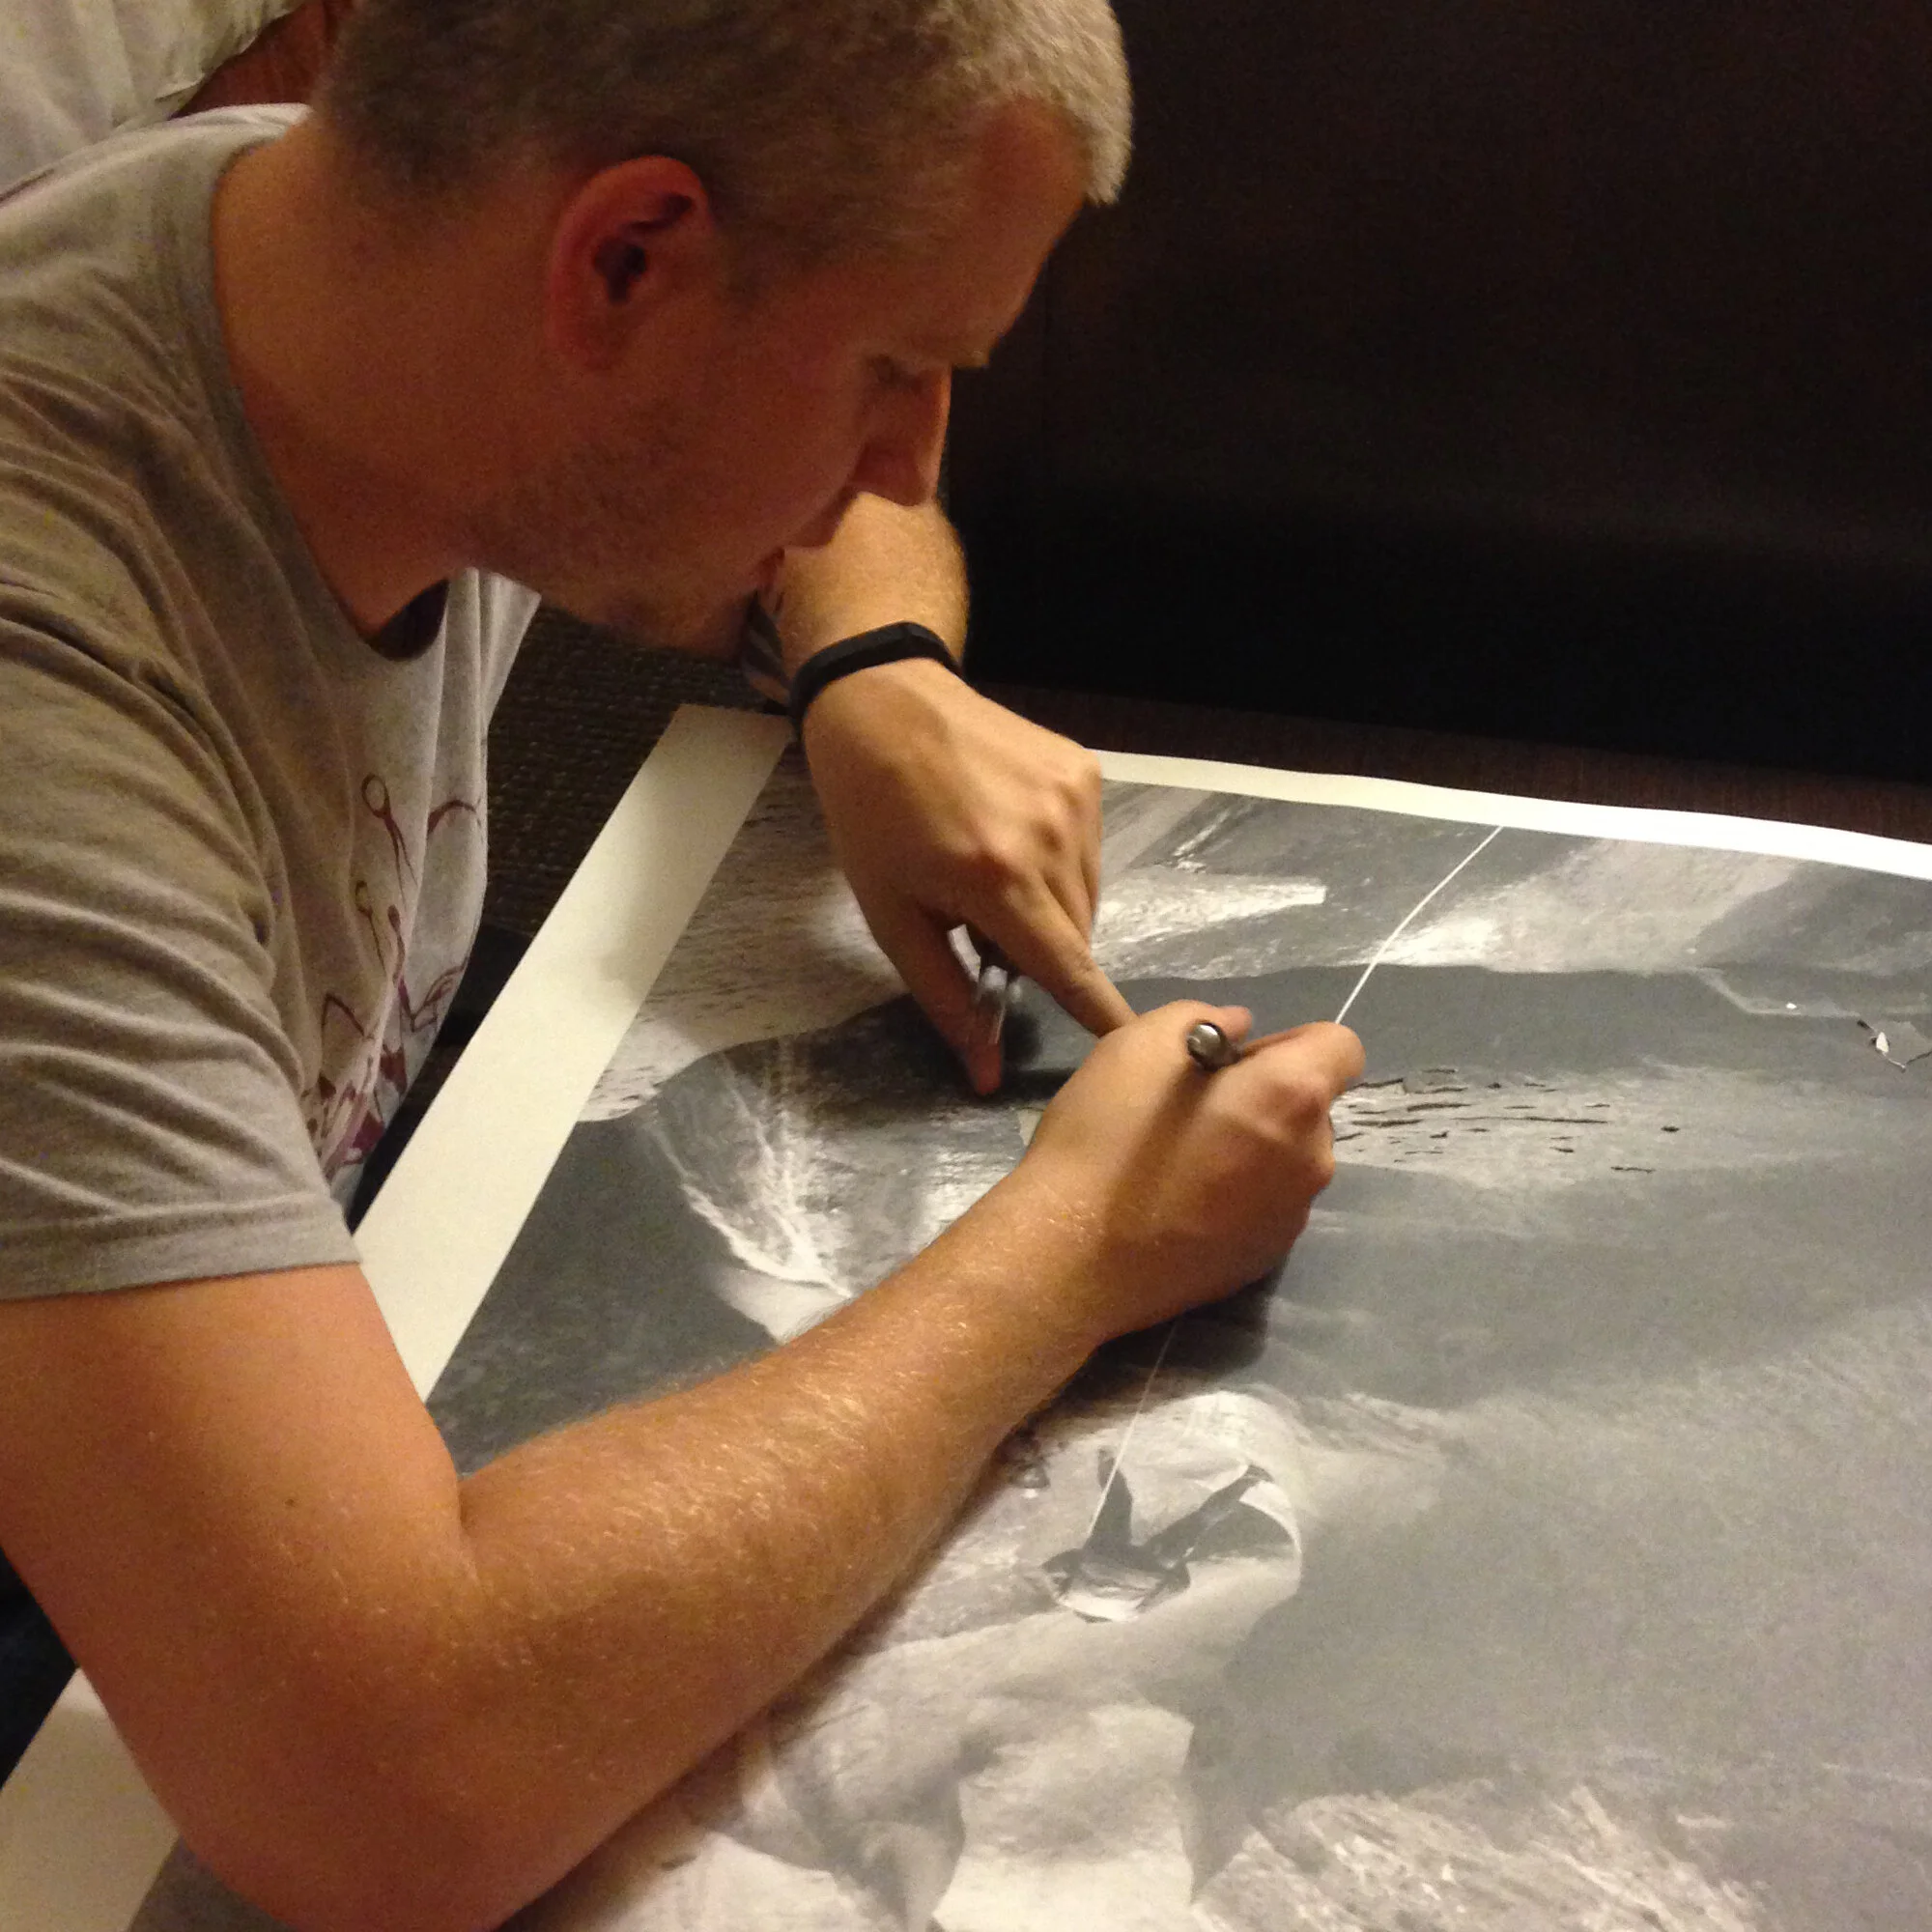
Step three: Do the work
Cut the stencil. Always by hand, no matter what. In the process of cutting, I need to be mindful of direction, of the angle of the blade, of the relative humidity, of when I'm too exhausted or distracted to safely continue. Distraction or exhaustion here can doom the whole effort at a critical moment.
I pay special attention to how I use the knife to make my impression. A stencil that is designed and cut against its source imagery with intention can tell the truth of the scene, not merely the facts.
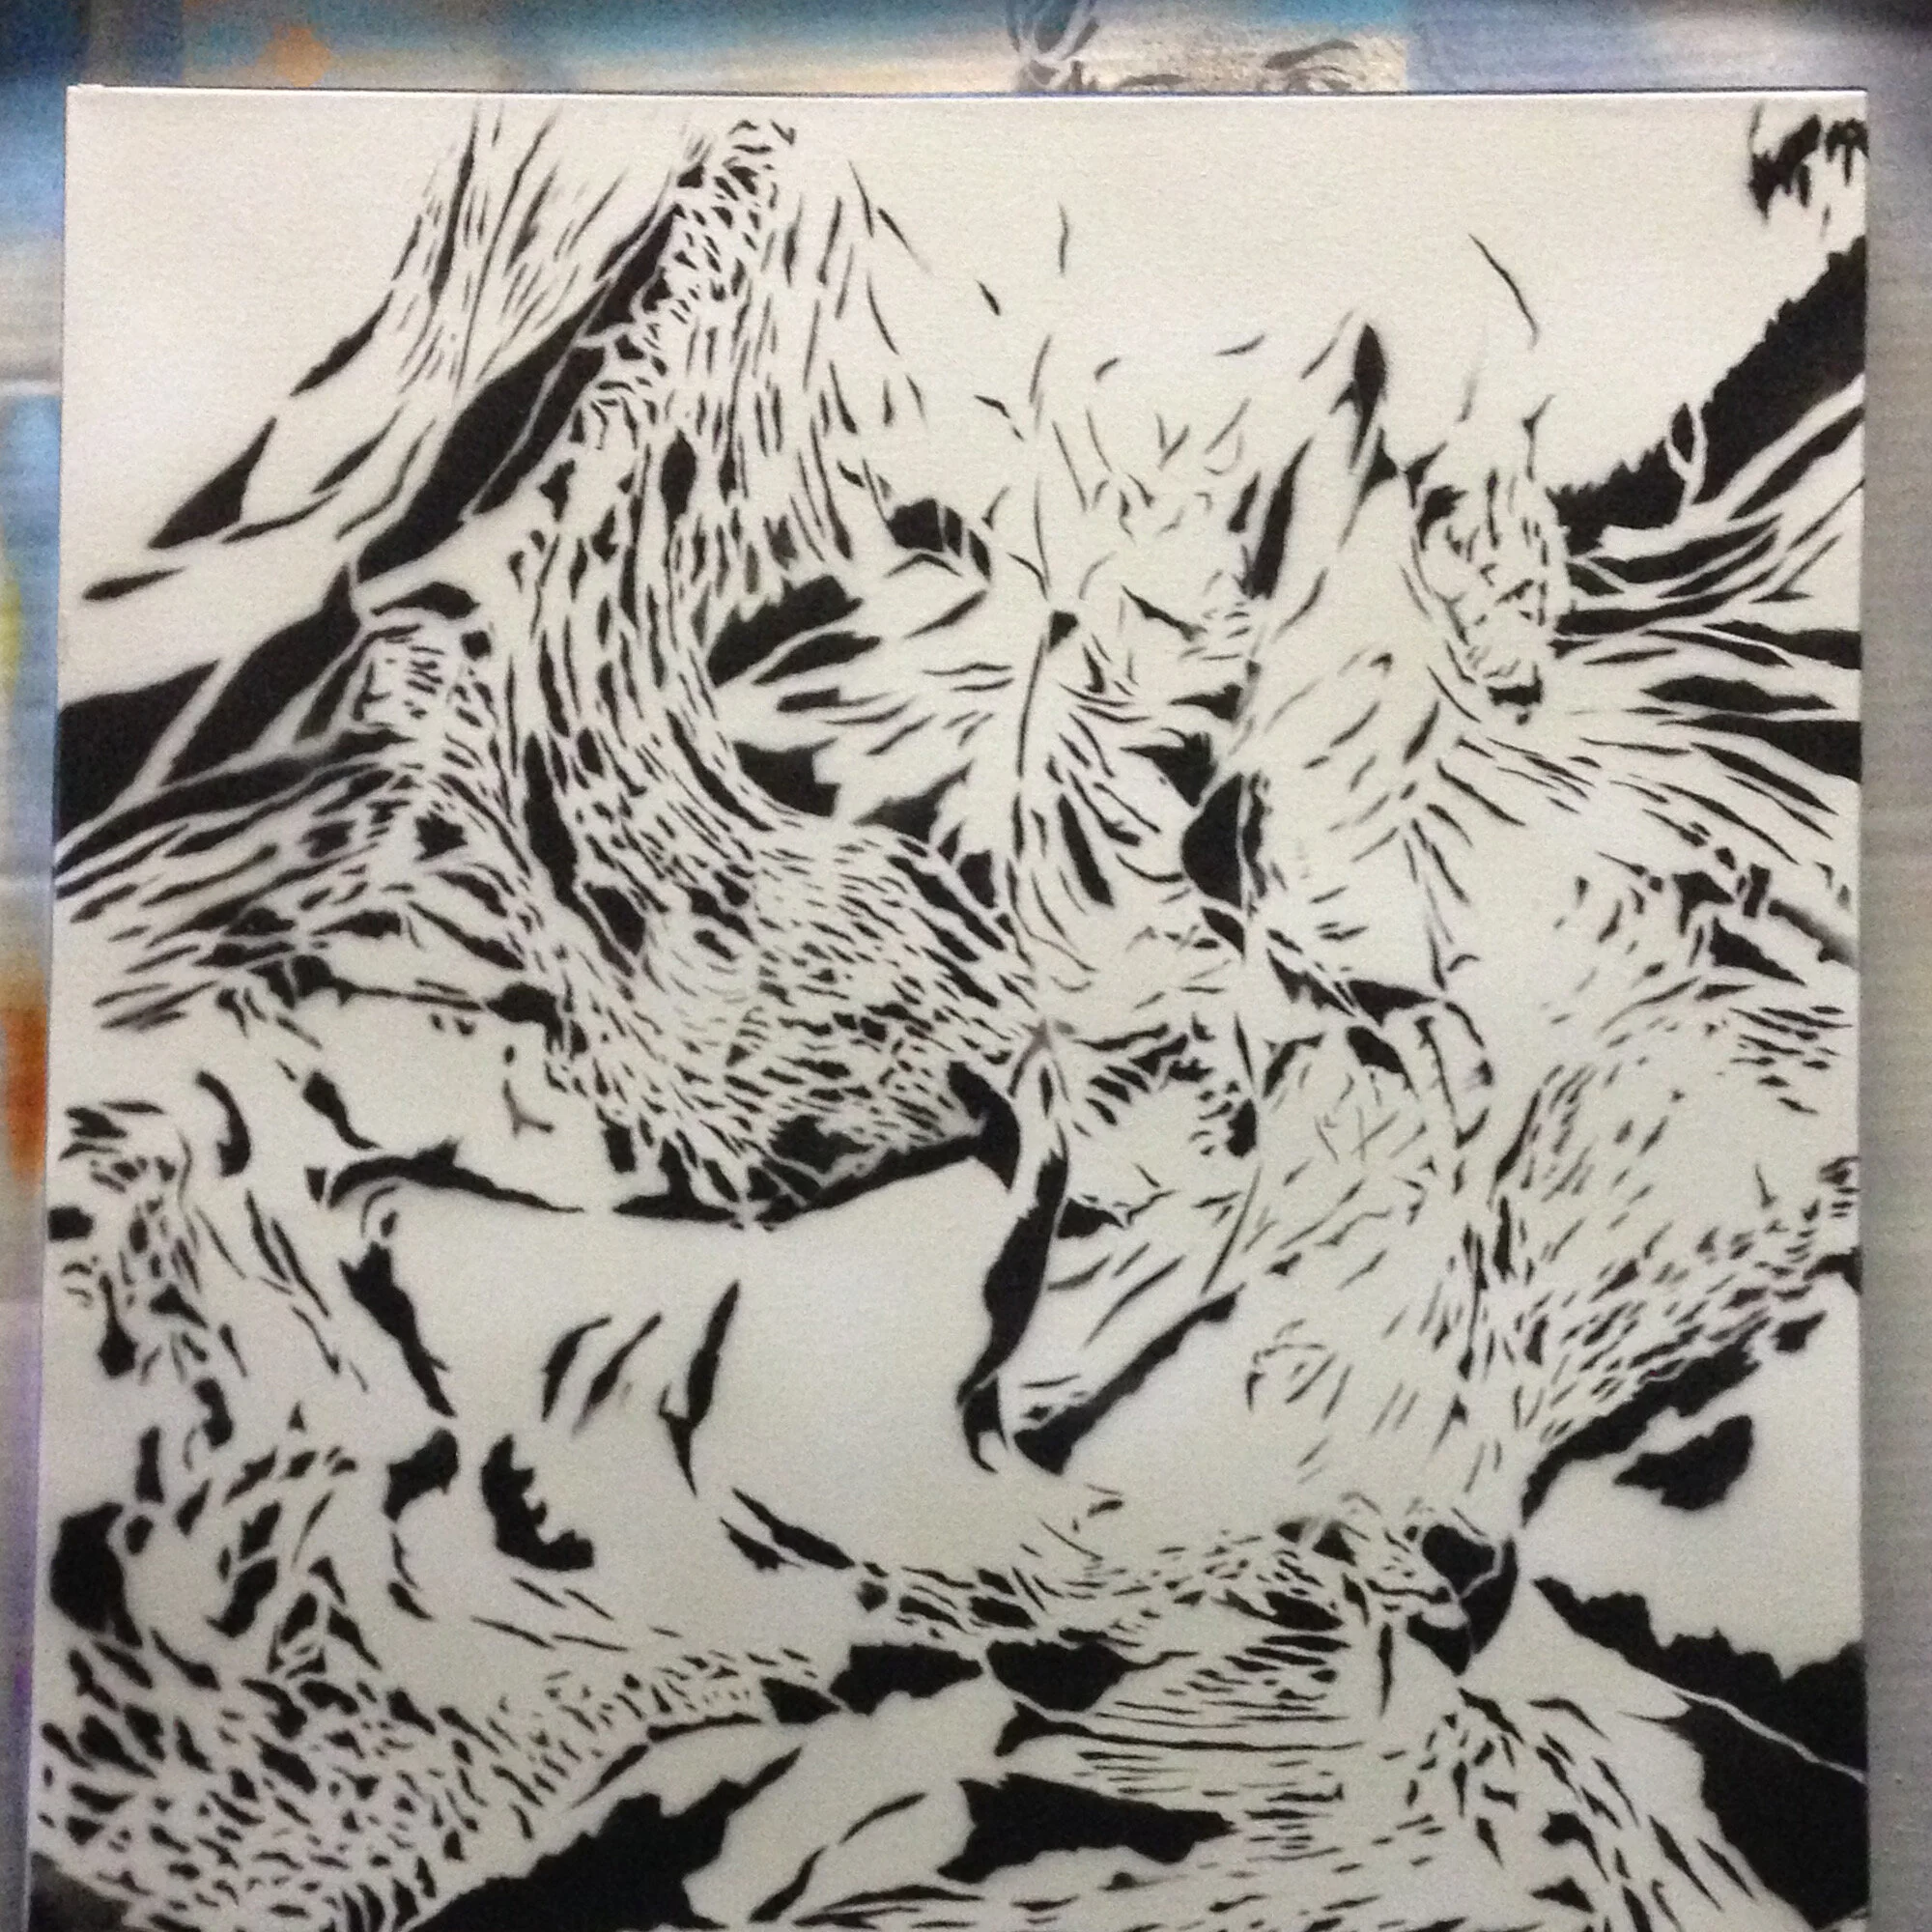
step four: Apply
The first application of the stencil serves as the foundation for the work. The paint is applied lightly, but evenly. A heavy hand in applying spray paint here may saturate the stencil, warping it to such a degree that later uses are inconsistent. The point here is to get a sense of the contours of the image, the three-dimensional space, and the balance of contrast. Using a stencil cut with intention, the goal is to communicate to my future self in how to execute the painting.

step five: Paint the base
Using the stencil as guidelines, I begin building around these contours and areas of light and dark. I prefer to work first with broad swaths of color and a loose, expressive brush stroke, building up layers as I approach the texture I need, depending on what the painting requires.
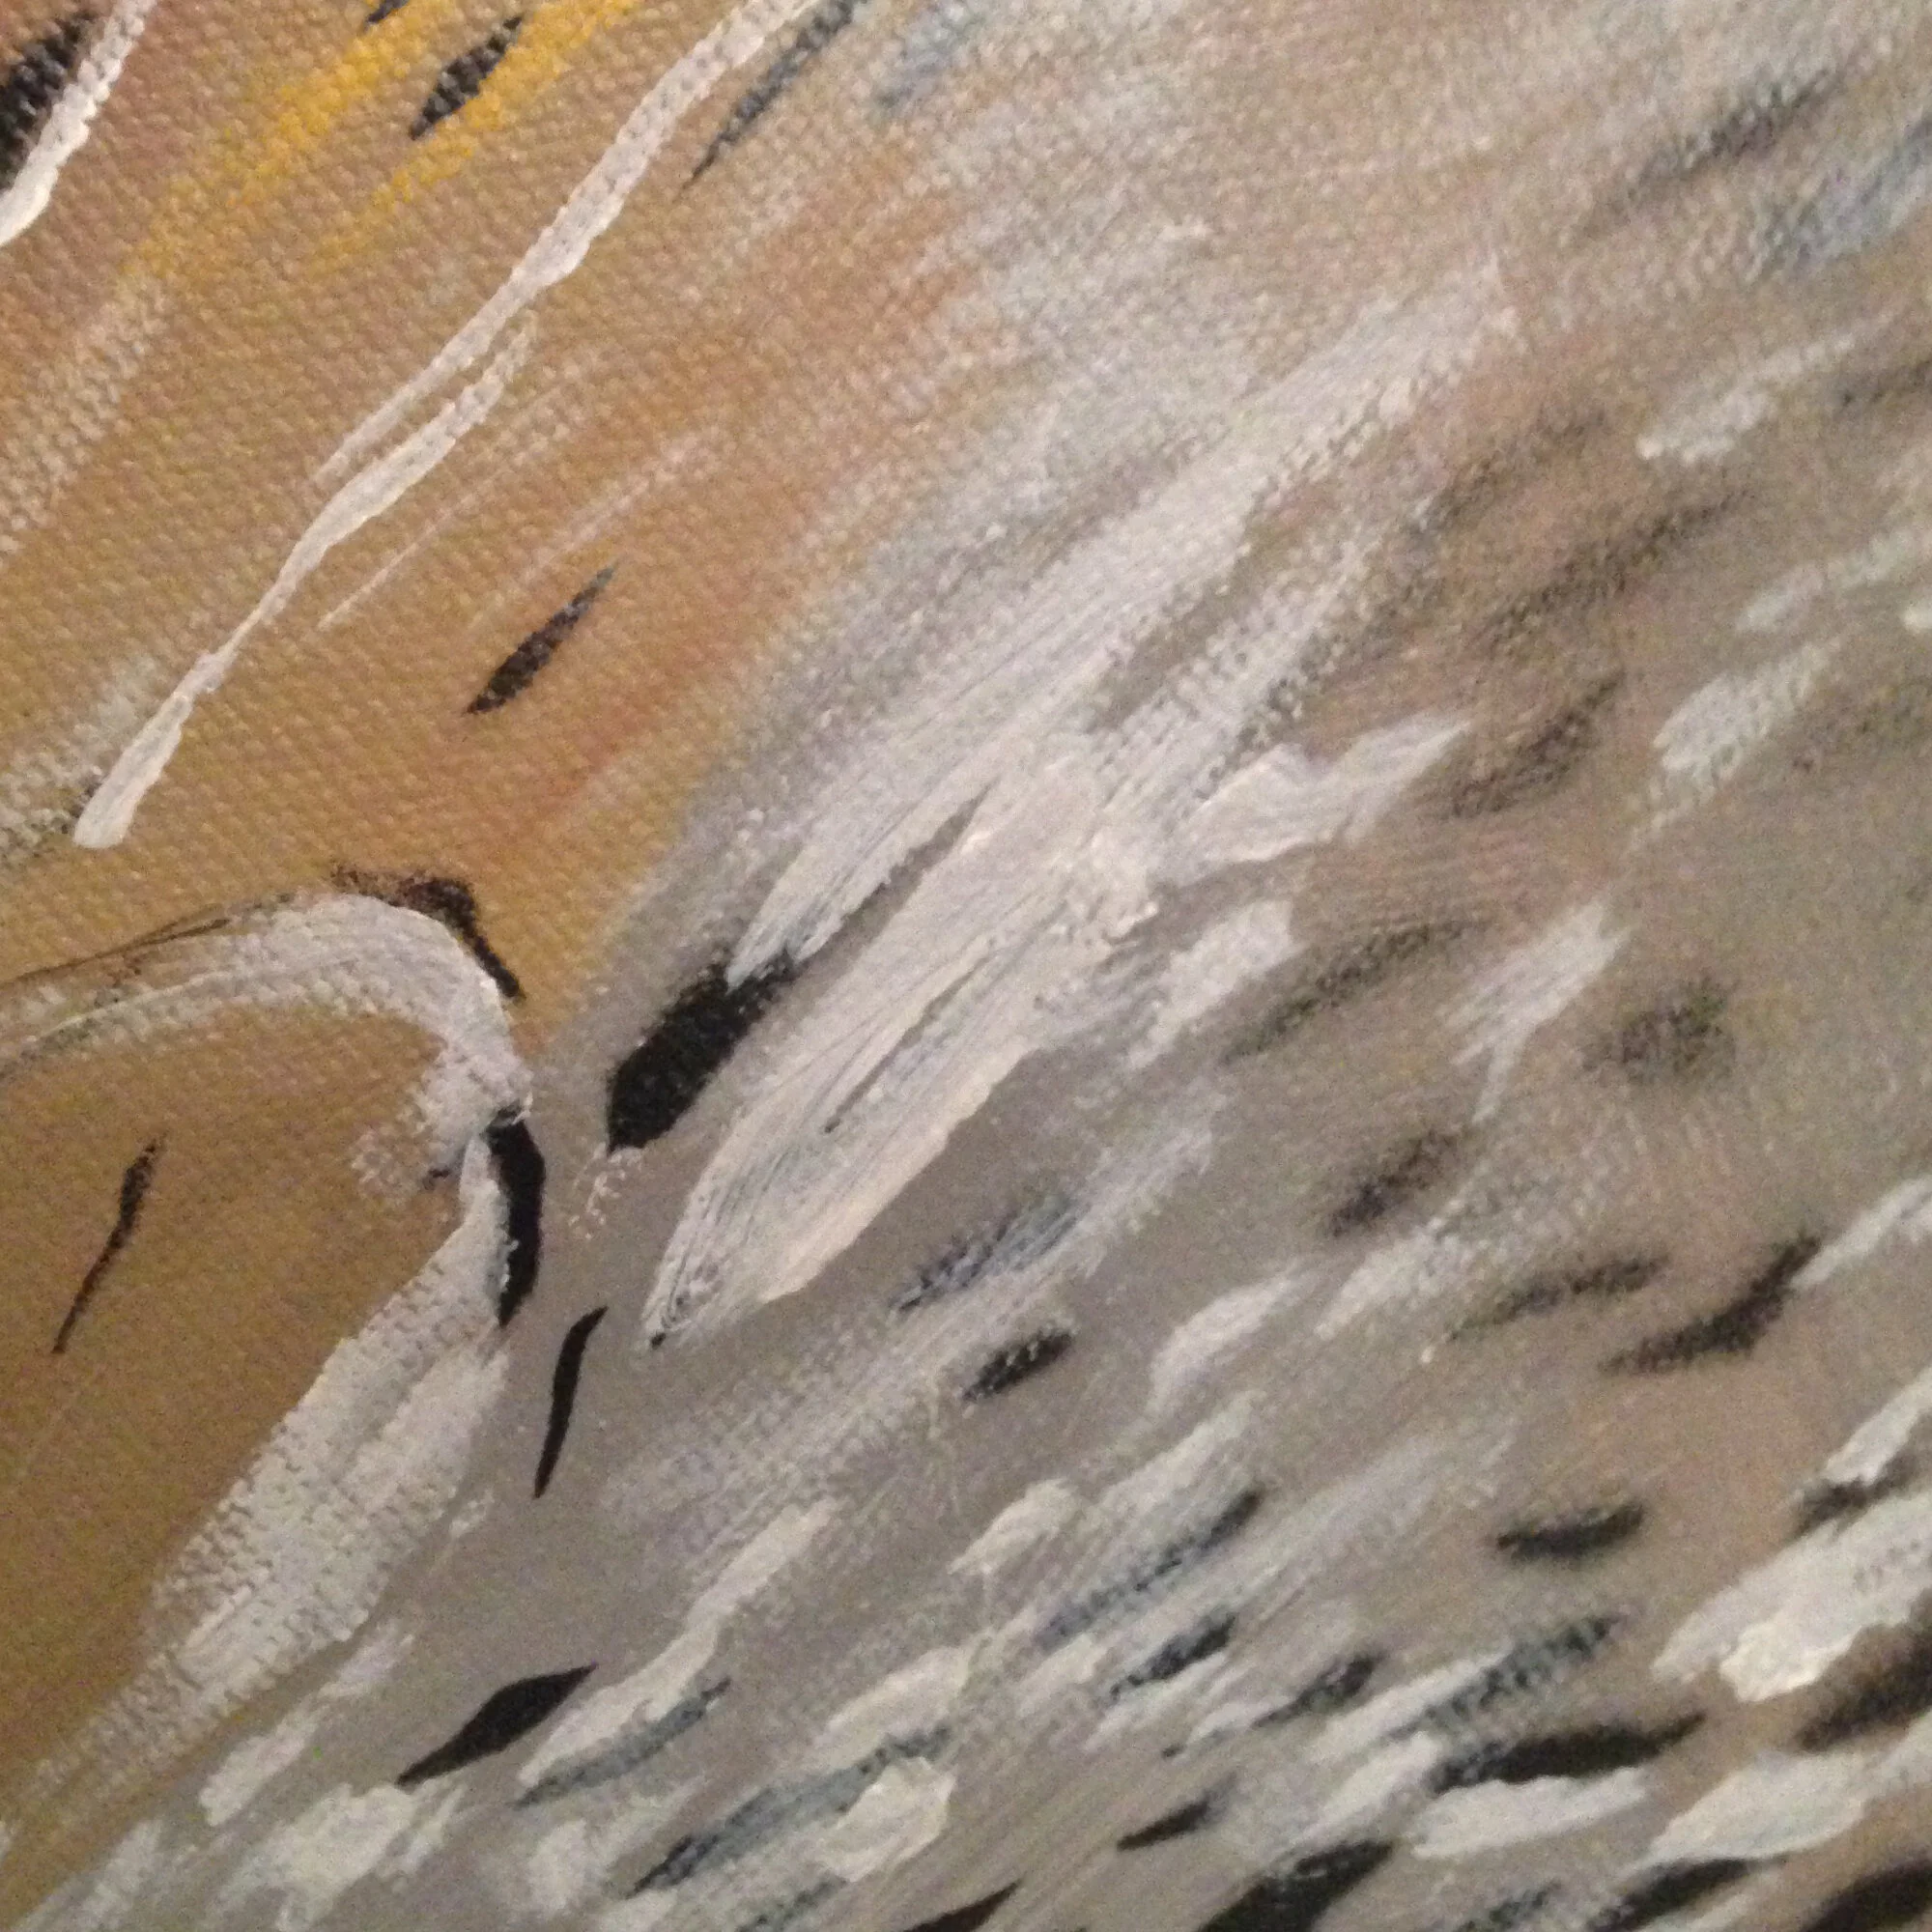
Step six: paint the detail
As the broad strokes are solidified on the canvas, I can begin building the fine details. Color, brush stroke, and texture all help to tell the tale of what I am trying to communicate. This cycle may repeat through multiple iterations, as my understanding of the scene adapts as I explore it. Spray paint, base layers and details may overlap and interplay as the whole piece develops. It is in essence an exploratory project.

step seven: close the loop
This is where it all comes together. Prior to this, the canvas may appear an incoherent mess, one that challenges my own faith to communicate on a personal level. It is instead an act of faith to continue.
After a lengthy period of drying, I reposition the stencil back on top of the guidelines, and finish the work. Using as heavy or light a hand as needed, depending on the subject matter, I work with stencil and free-hand spray to finalize the piece. When things go right, I am rewarded with an almost ecstatic sense of having completed the work in line with my vision.
The joy was overpowering. It almost approached that of the original moment that birthed the need to paint in the first place.
This is why I paint.
For me, the stencil is a meditative act. In the process of working my hands into cramped, calloused, gnarled claws where I swear the next stencil is definitely the last, I find my focus and my purpose. I draw perseverance from the moment tor the truth that I'm trying to capture, and in the process of hand-cutting to exhaustion, I honor that moment or truth. That's the only way the works are successful.